 Then paste the text into the certificate box.
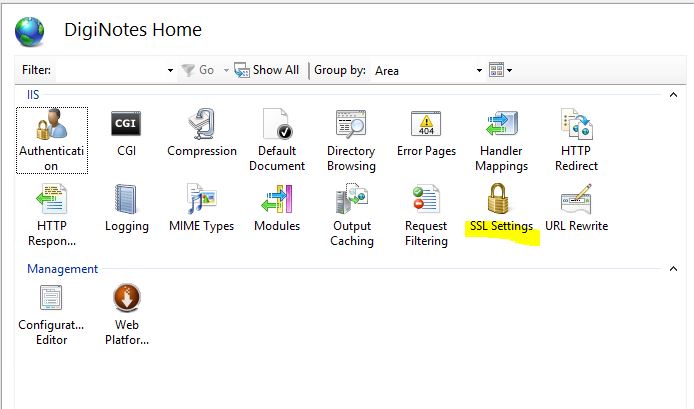
When setting up Client Authentication I did IIS Specific rather than Active Directory. To set this up, you will first need to set your site to require SSL. Open IIS and expand the server until you see your website. Select your site, and then select SSL Settings.
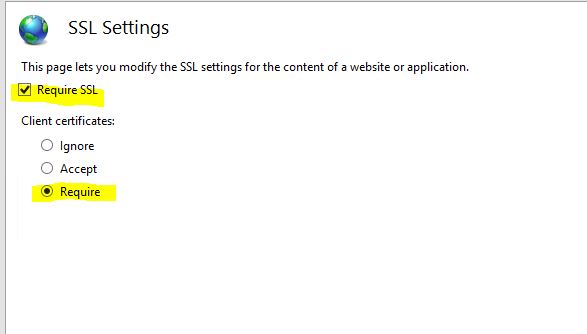
Then select the check box to Require SSL, then under Client certificates, select Require. This forces the site to require Client authentication in order to access the contents.
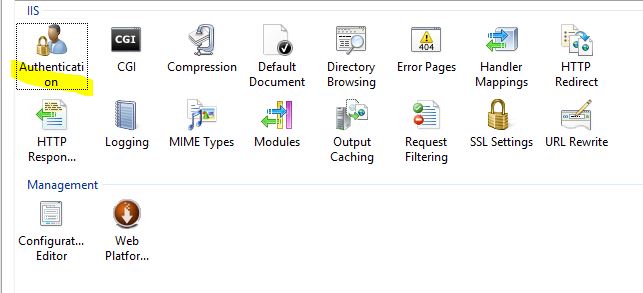
By default your site has Anonymous Authentication enabled. This allows anyone to access the site. So you will need to disable this. Go back to your site management section and select Authentication.
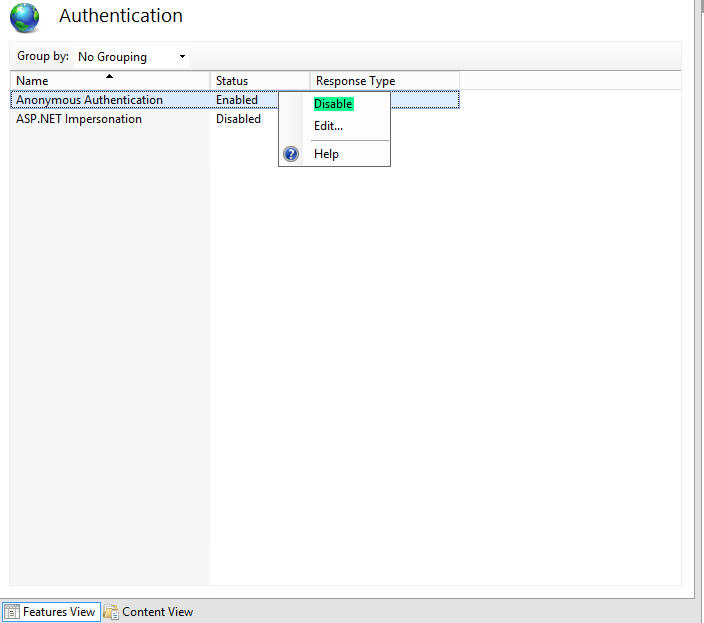
Right click Anyonymous Authentication and then select Disable.
Now the basics are set up. At this point you need to tell the server what to allow, or if it's easier what not to allow. Go to your site's management page in IIS and select Configuration Editor.

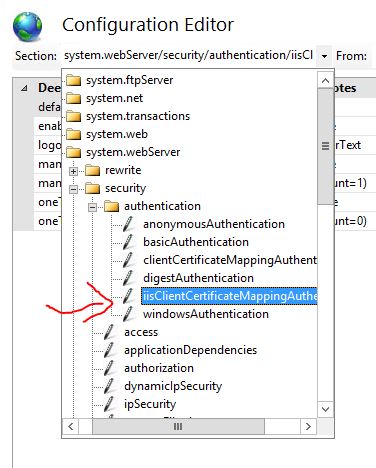
In the Configuration Editor you can select any security sectoins. For this specific tutorial we wan't to go to the system.webServer>security>authentication>iisClientMappingAuthentication.
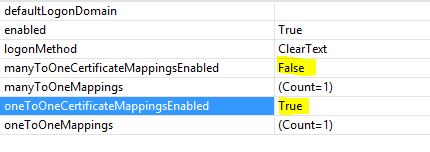
For One to One authentication, set oneToOneCertificateMappingsEnabled to True, and manyToOneCertificateMappingsEnabled to False.
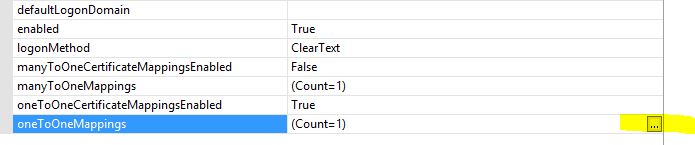
Next to oneToOneMappings (Count=0) select the "..." button.
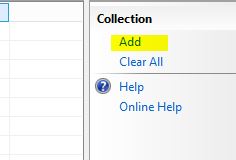
The to the right of the new window select "Add".
At the bottom of the window are new fields to enter information into:
Then paste the text into the certificate box.

At this point you can close the new window and select Apply in the Configuration Editor to apply the Mapping. And you are done. You have successfully enabled Client Authentication for your IIS server using One to One Mapping. The advantage to this is so that you can restrict access or enable access to a specific person, or persons. If there are many individuals that need access, you may wan't to consider Many to One Mapping.